I recently got around to fixing my second Roland SK-88 Pro(and now for the last time I’ll say “Pro”) and wanted touch touch on some of the things I may have glossed over in the video. This one was recorded as an “along for the ride” format, so it wasn’t the most conducive to giving technical information and reasoning for decisions.
CPU Diagnosis
Let’s start with the idea of replacing the CPU itself. As I mentioned, I feel like I lucked out with noticing the chip was getting hot. At least one commenter on the video mentioned Louis Rossmann has a method using IPA to find hot parts which would have worked in this case. It’s probably not something I could use all the time though. Imagine trying to find a shorted tantalum capacitor on an ISA card in a 5150 by trickling isopropanol down the cards. It’s just not going to happen. Really I just need to get a thermal camera. But that’s just one thing in a long list of different things on my list of future purchases and it’s not a very high up on it. So for now I’ll be sticking to the finger flir and lame IR thermometer

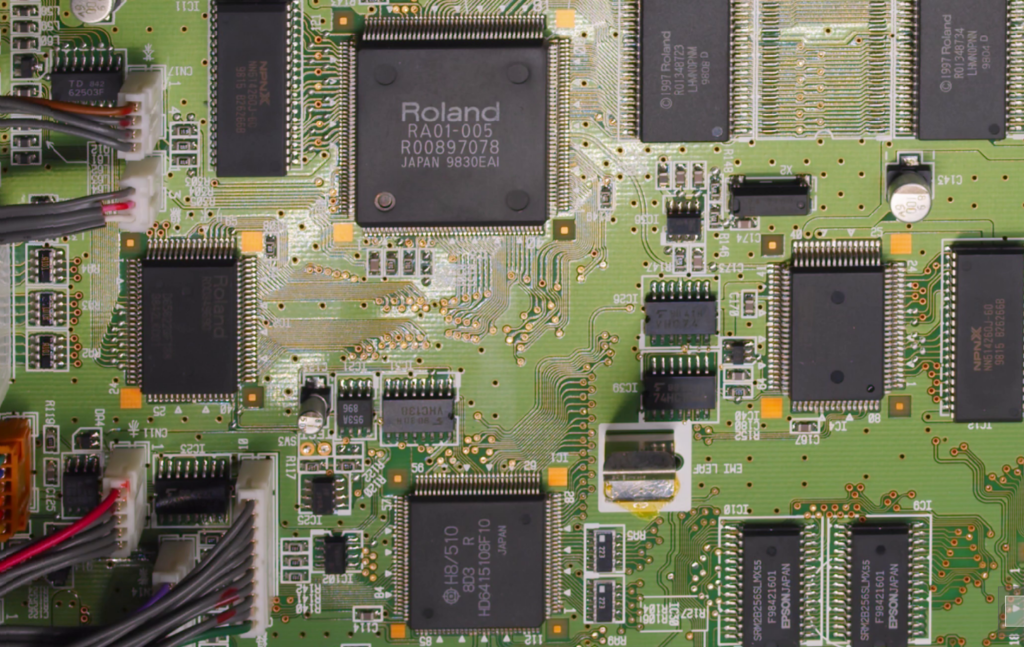
I’m still thanking my lucky stars that it was even possible to replace the CPU though. It’s listed as an MCU in many places and those typically come with internal storage for the program code. If I had to try and reprogram the H8/510 I would have had to figure out how to dump the code from the working keyboard, get a programmer for the chip(which could involve buying new hardware and software depending on how locked down the development ecosystem is), and then uploading it while hoping there isn’t some sort of per-chip encryption. Not a fun process at all. I’m still not exactly sure where the code is stored on the SK-88, my suspicion is that it’s either in the giant custom Roland chip or the of the ones that are off to the side. Roland produces ROMs themselves, so there’s really no reason for them to use a recognizable off the shelf part. So it is very likely a custom, or at least renamed, part with their brand on it.
3D Printed Key Fix
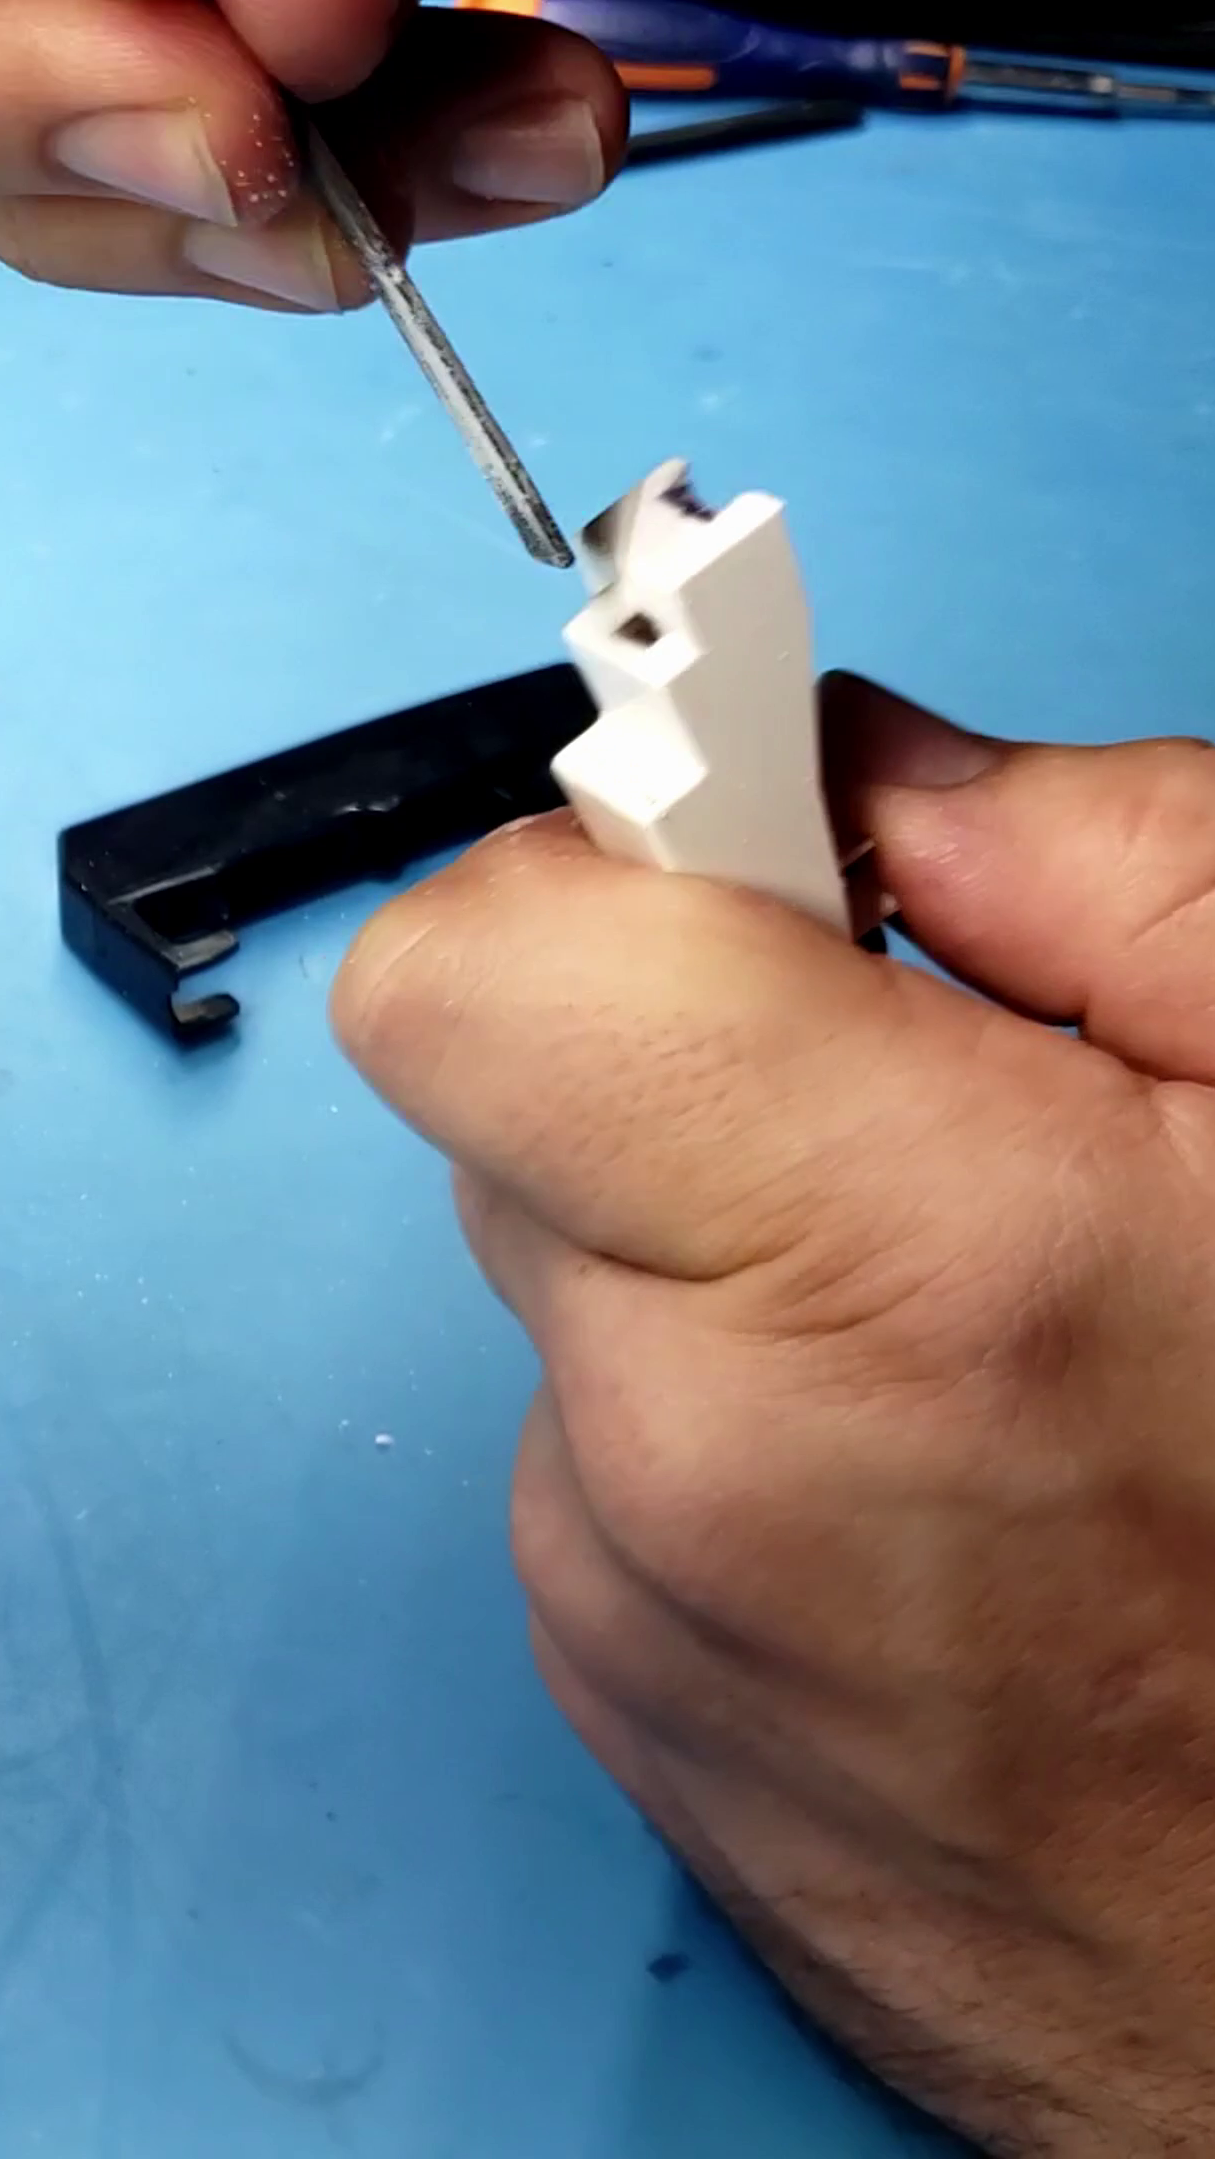
I’m quite pleased at how well the 3D printed part came out and how well it was able to be integrated. That whole process went a lot smoother than I thought it would. But I did spend a lot of time on it so it does make sense. On the chance that the part is useful, I put it up here: https://gist.github.com/AkBKukU/08fd558d84e8da780e17868c08cf298f with the OpenSCAD file and the json with my configurations.
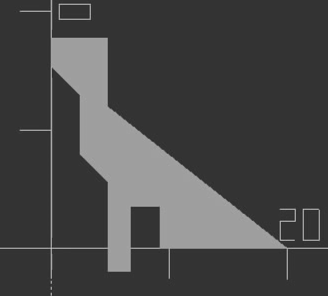
The basic shape of the part and all of the dimensions were a long drawn out process, literally since I sketched it first. I ended up deciding to try to get the printed part to conform to the shape of the keys as much as possible to ensure a stable fit. I’m not going to go into that whole process here, but I did release an extended cut of the video with my reasoning on Patreon for supporters. If the spring force to pull the keys back up wasn’t so harsh from being in an odd direction, I wouldn’t be too surprised if they could have worked without glue at all.
I got a bit of criticism for using hot glue to put the parts together. Being a 3D printed part that I could modify, reprint, and reinstall it would be really limiting to epoxy the first print down to the key. If these prove to be good in the long run and the glue breaks free, sure, reattaching with epoxy would be fine. But these aren’t like screw posts in a case, it’s a totally custom part that I need to, and am able to, fine tune. So jumping to a permanent installation isn’t a great idea. I know I was talking about selling the keyboard in the video(which if I’m honest with myself, just isn’t going to happen) and if I was going to sell it, then I would want to open it back up and epoxy the keys down. The hot glue will be weaker, but for my purposes and capabilities, it was perfect.
I’m a little surprised I didn’t get any comments about filing down the original keys. I feel like in the final video I didn’t explain that very well. The hooks for the keys to pivot on the metal plate only attach to the key with material at thick as that wall. And since the wall goes all the way up and you can’t have anyhing above it, there would be no where to add connecting material for the 3D printed insert. So a section had to be removed for the 3D printed part to have some sort of internal integrity before it could be connected to the key. I really feel like this was the most important decision I made in repairing the keys and is what made it possible. There was also a helpful side effect of this because the keys also cracked along that front wall where they were hit. I didn’t notice it until I started filing, but this meant I removed some of the cracked area and replaced it with solid material and adhesive. That should keep it from cracking farther which was a happy accident.
Final Thoughts
In the end this project was a lot of fun and I am absolutely thrilled with the results. It wasn’t the best test for my new bench setup since it was already diagnosed and in a trivial fashion. But it was a straightforward project which is always nice to have. I don’t think there are any parts of it that I would have done differently, other than not hitting record twice when soldering the chip down. That was unfortunate. But it was pretty much just flux and solder at that point.
I keep getting asked where I put the music I make with the keyboards I have, to be honest, so far playing and writing music has been more of an unwinding activity at the end of the day. Not really song or goal oriented production. So I don’t have much to show for what I’ve done with them. If I produce anything of actual substance, I’ll try to put them up on Bandcamp. I put the soundtrack I made for the Blip video up there, so you can get that if you want. But that’s really the only finished thing I’ve made with one of these.